The Studio Guide to Photoshop Clipping Paths & Clean Product Cutouts
If you shoot catalog photos or run an e-commerce brand, you already know the grind. You spend hours setting up softboxes, adjusting reflectors, and styling items, only to open Photoshop and realize every single image needs its background stripped before listing.
And look, I get why people jump on 1-click automated cutout tools. They promise the world in three seconds. But the moment you zoom in to 200% on a white sneaker, a reflective watch, or a fine wool knit, those automated tools crumble. You get fuzzy jagged edges, muddy halos where backdrop color bleeds through, and flat-looking cutouts that look completely amateur on a clean white marketplace page.
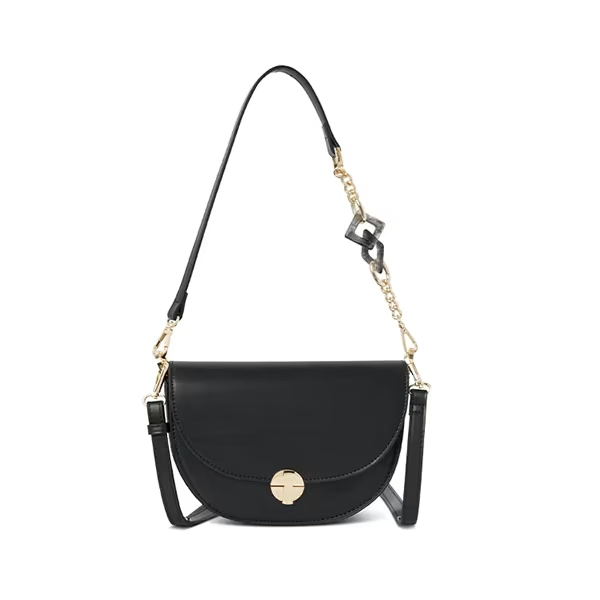
Hand-drawn vector clipping path on a luxury leather crossbody bag. Notice the razor-sharp buckle curves and zero backdrop haloing.
That is why handcrafted Pen Tool paths are still standard practice across professional studios. It takes a little more patience, but once you build a few core habits into your workflow, you can turn out crisp, catalog-ready product cutouts with total consistency.
1. The 1-Pixel Inset Margin
Here is the single most common mistake beginner editors make: placing anchor points right on the extreme outside edge of the subject. Studio backdrops naturally bounce light, creating semi-transparent edge pixels that mix backdrop color into the product border. If you trace the exact outer contour, that color spill comes with your cutout. Always position your Pen Tool anchor points about 0.5 to 1 pixel inside the true border. When your cutout lands on pure white (#FFFFFF), that ugly colored outline disappears entirely.
2. Anchor Point Economy
Another classic trap is clicking every few millimeters along a curve. When you drop fifty tiny anchor points onto a curved edge, you get a bumpy polygon instead of a sleek commercial silhouette. Keep your points minimal. Place one point where a curve begins, and another where it turns or ends. Pull your direction handles out to let the mathematical Bézier curve form the bend naturally. Fewer points mean cleaner curves and vastly smaller file sizes in production.
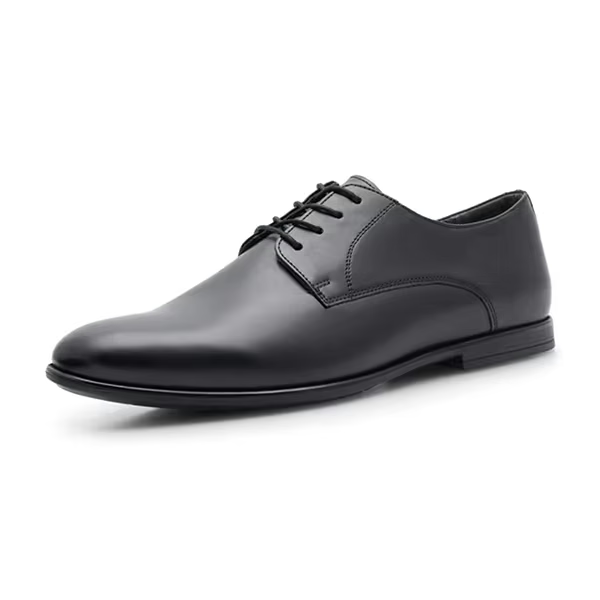
Commercial footwear retouching: Clean pen tool isolation paired with a soft ground contact shadow to keep the product realistically grounded.
3. Never Settle for a Zero-Feather Edge
When you convert a vector path into a Photoshop selection, do not leave your feather radius at 0.0 pixels. An unflattered pixel-cut edge looks razor-sharp in the worst way—like an amateur collage sliced with office scissors. A subtle feather between 0.3px and 0.5px mimics real optical depth of field from a 50mm or 85mm prime lens without blurring the product silhouette.
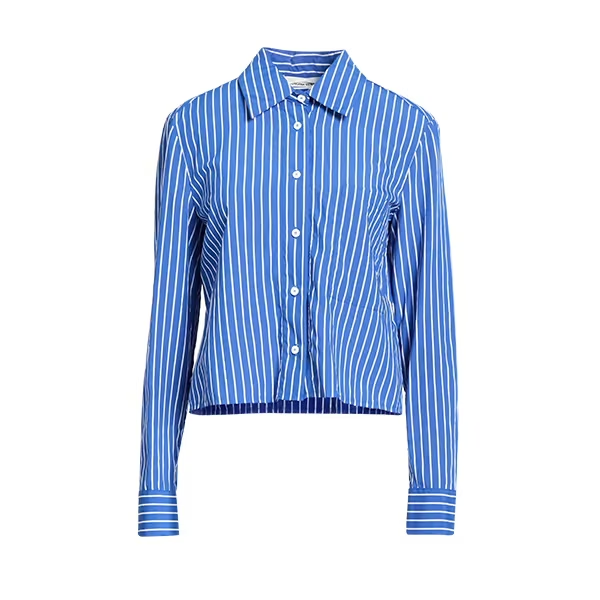
Ghost mannequin 3D neck joint: Front shot stitched with the inner collar lining to give apparel lifelike fit and form without displaying a plastic mannequin.
4. Multi-Clipping Paths for Colorways
Shooting a jacket or handbag line in six different colorways? You do not have to book the studio for another four hours. Commercial retouchers use multi-clipping paths—saving individual paths for the body, zippers, buttons, lining, and hardware into the same PSD or TIFF file.
Your team can isolate any sub-element with a single click and adjust hue curves without touching adjacent fabric. When stores handle seasonal collections with hundreds of SKUs, studios rely on trusted partners like Path Edit Provider through their dedicated clipping path service so in-house teams can spend their hours creative directing instead of drawing paths until midnight.

Macro jewelry retouching: Micro-prongs and gemstone facets separated through compound vector paths for targeted metal polish and scratch removal.
5. Keep Your Ground Shadows Organic
Cutting an object out and sticking it on pure white with no contact shadow creates a jarring "hovering" sensation. Even if your client demands a pure white background, always preserve the natural cast shadow right underneath the base. If the original backdrop had too much glare, paint a subtle drop shadow on a separate layer using a soft round brush set to Multiply mode at 15% to 20% opacity.
Managing High-Volume Production Workflows
When you have five products to edit, drawing clipping paths manually is straightforward. But when you wrap up a 500-product commercial catalog shoot, manual pen tool tracing can stall your entire marketing launch.
Outsourcing repetitive volume to a specialized production studio like Path Edit Provider gives you hand-crafted Pen Tool paths, clean ghost mannequins, and high-end photo retouching turned around overnight. That way, you maintain strict studio standards without burning out your design staff.
Comments
Post a Comment